Exigences matérielles
ÉTAPES
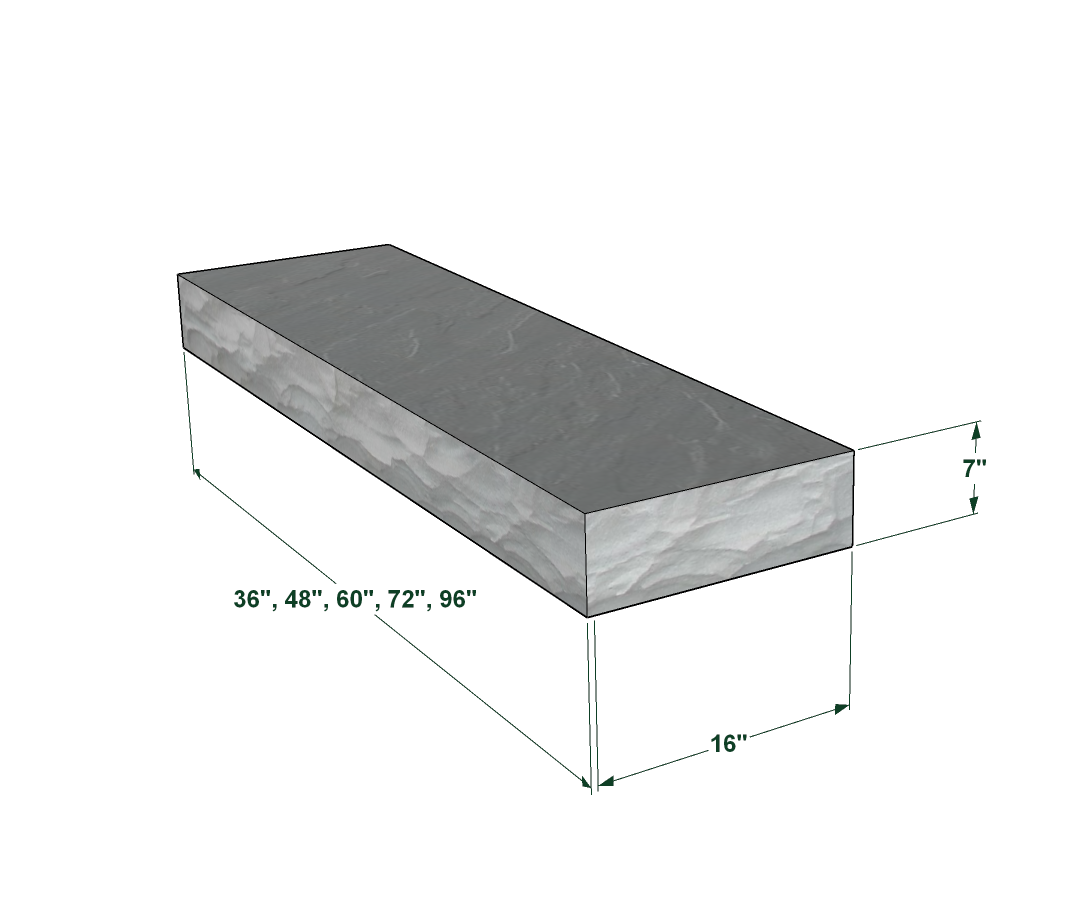
REMPLISSEURS

Installation
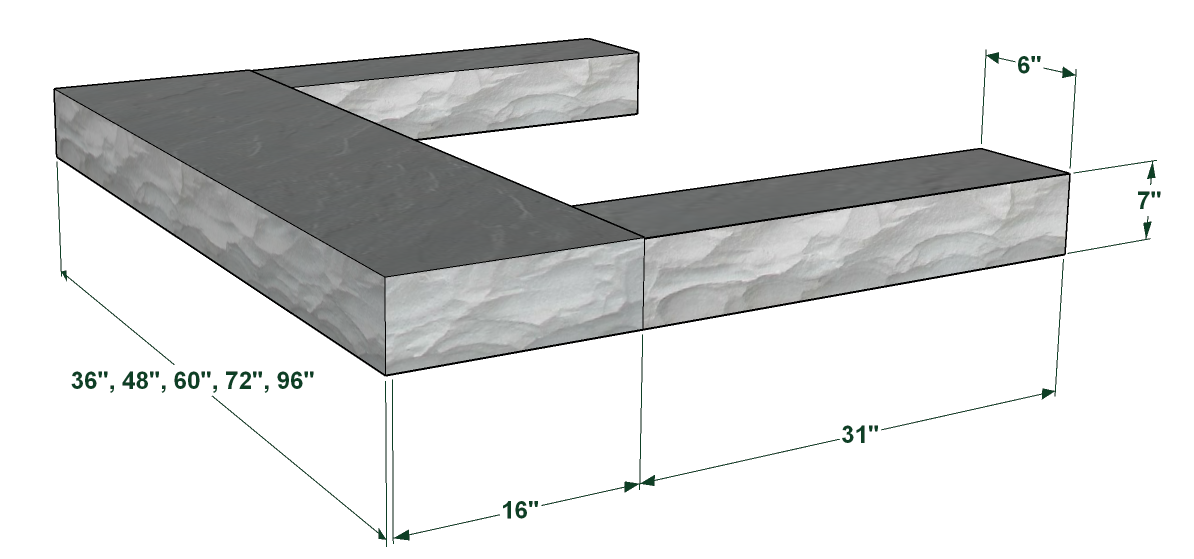
ÉTAPE1
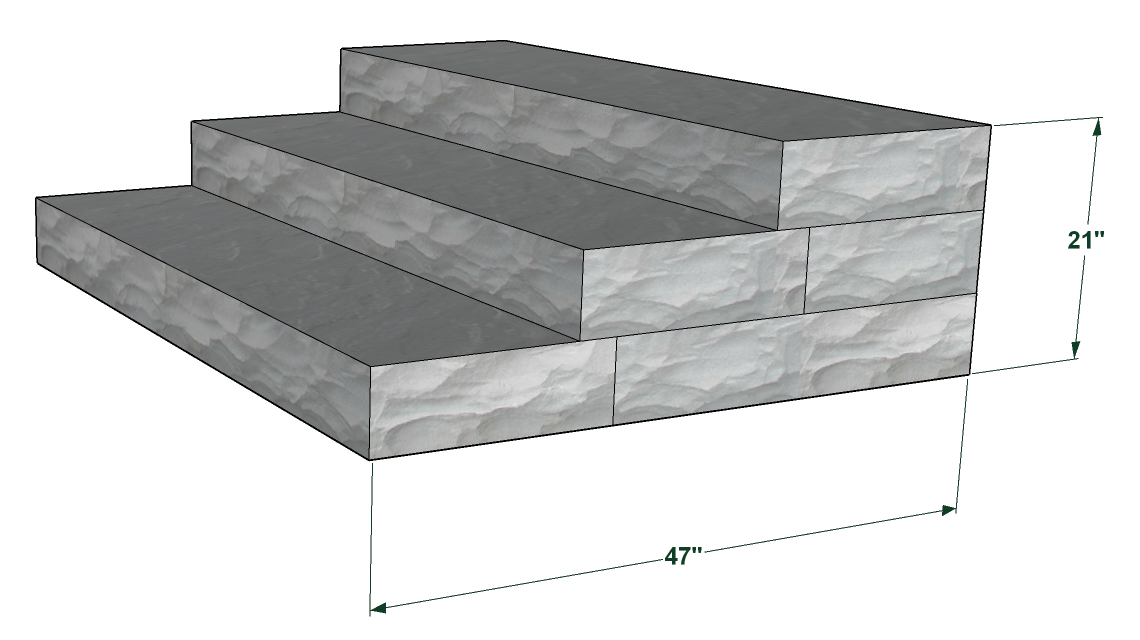
Placez une marche et deux pleins comme indiqué.
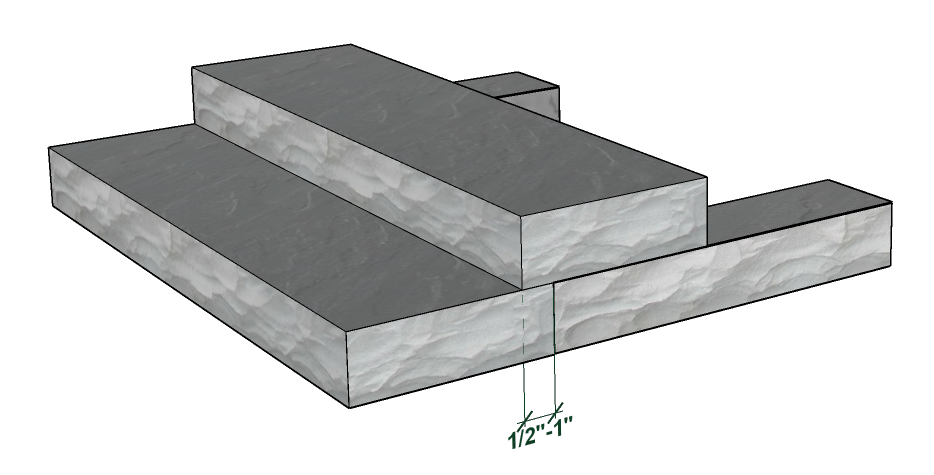
ÉTAPE2
Placez la deuxième marche avec un chevauchement d’environ ½ »-1″.
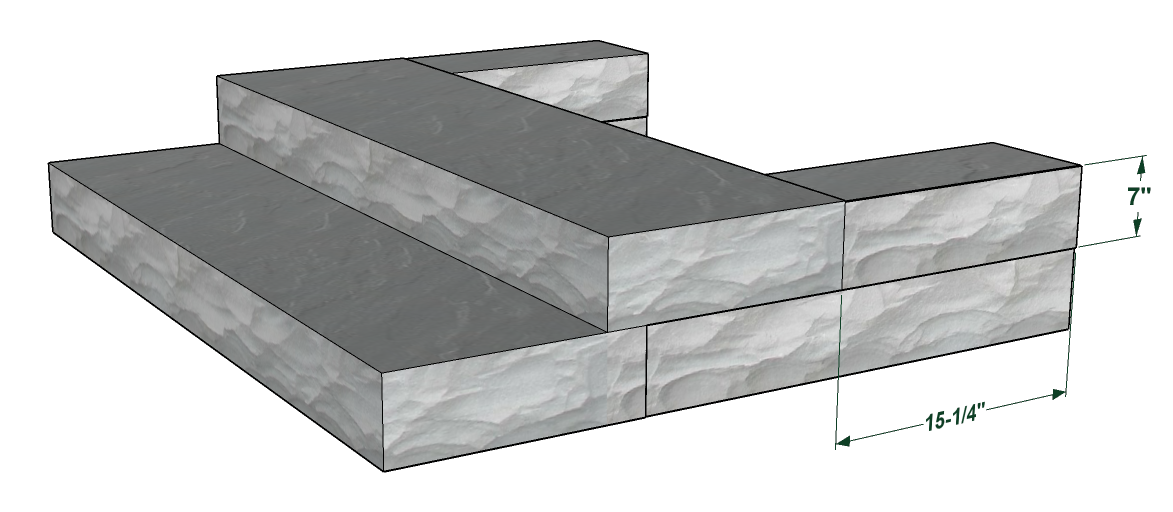
ÉTAPE3
Couper un mastic en deux morceaux égaux et le placer derrière la deuxième marche.

.png)